
You surely heard of a thing called eyelash lift or eyelash lamination. It is definitely the best method to improve the looks as well as condition of eyelashes. They stay in place and look more voluminous, which obviously adds amazing definition to the eyes. Keep reading for more details!
What Is a Lash Lift and What Effects Does It Produce?
The treatment is designed to strengthen eyelash hair by filling it with the keratin protein, aka the building block of hair. Eyelash lift and lamination involves applying special solutions that change the hair structure. They dissolve the disulfide bonds to leave lashes easier to manage and make them soak up nutrients more easily, and then restore the bonds and seal the hair cuticle layer.
What Is the Difference Between Eyelash Lift and Eyelash Lamination?
It should be noted that every lamination process is also a lash lift, however, not every lash lift is the lash lamination. We cannot use these terms interchangeably.
- Eyelash lift gives eyelashes the desired shape. The solutions used for the lash lifting process aim to make the hairs more manageable. Thanks to that, with the aid of special silicone rods and lash glue, we can lift the lashes, hold them in place, and create the desired curl.
- Eyelash lamination can be called a keratin lash lifting, and it is usually the last stage of the whole treatment, aiming to hydrate lashes which have just been covered with chemical solutions. The gaps in lashes are filled in with keratin, and eyelashes become elastic, strong and are extra protected.
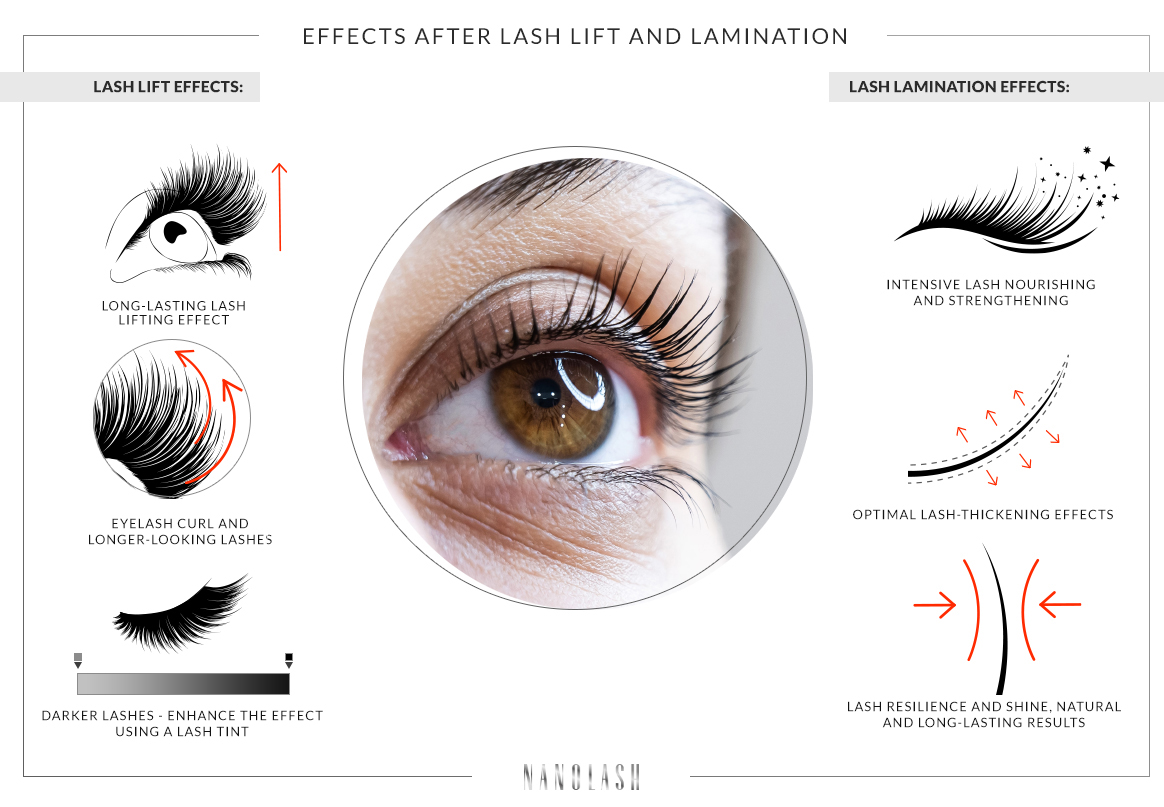
Effects After Lash Lift and Lamination
The greatest benefit of lash lift and lamination is that eyelashes look natural, not overdone. They are perfectly separated, shiny, and thicker, which gives them a healthier look. This is the reason why most women put away their mascaras and lash curlers. Naturally, you can use these after lash lift - it is totally up to you.
Results After Lash Lift:
- permanent lash lifting effect
- lash curl, and longer-looking lashes
- deeper lash color (if you also use the lash tint)
Results After Lash Lamination:
- deeply nourished, strong lashes
- thicker-looking lashes
- lash elasticity and shine
- natural, long-lasting results
Eyelash Lift and Lamination. What Does It Involve?
Below we present the lash lift and lamination process which always involves the same steps whether you get it done at the salon or do it yourself using an at-home lash lift kit. The treatment takes around an hour and a half.
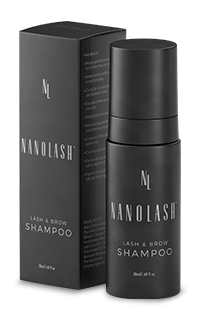
STEP 1. PREPARE YOUR LASHES
Deeply clear your eyelashes of the makeup residue, dust and oil. Feel free to use specially-made lash and bow shampoo.
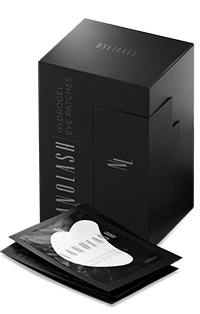
STEP 2. SECURE LOWER EYELID AND BOTTOM LASHES
You can use special hydro-gel patches. Simply place them on the eyelid, separating the upper and lower lashes. You will reduce the risk of upper and bottom lashes sticking together.
STEP 3. CHOOSE THE BEST SILICONE RODS
Reach out for silicone rods for lash lift and lamination. Choose the best size for your eye and place the rod all over the upper eyelid. If you're afraid the rod moves, you can secure it using a lash lift glue.
STEP 4. PREP YOUR LASHES FOR THE TREATMENT
Using the same glue and special lash lifting comb, secure the upper lashes to the rod. Try to keep the lashes precisely separated.
STEP 5. OPEN THE CUTICLE SCALES
Use the activating solution for lash lift and lamination. It is meant for relaxing the hair structure which leaves lashes easier to style and manage. Apply the product on lashes using a clean applicator, around one millimeter from the lash line. The hair receives a keratin shot and soaks up all necessary nutrients. After around 7-10 minutes, remove the product with a cotton pad or other clean applicator.
STEP 6. MAKE THE LASH LIFTING LAST
Use the neutralizing solution for lash lift and lamination. The product is meant for neutralizing the activating solution, and closing the cuticle scales back. Apply the solution with a clean applicator, around one millimeter away from the lash line, and leave it on for 7 to 10 minutes. Finally, remove the product using a clean cotton pad or other clean applicator.
STEP 7. USE A LASH TINT (OPTIONAL)
If you want to darken the lashes during the lash lift process, then you should use it at this stage. Leave the tint on lashes as indicated by the product manufacturer (see the exact time on the packaging).
STEP 8. TIME FOR A CONDITIONER
A keratin conditioner for lash lift and lamination will up the results of the treatment. Such serum adds smoothness to lashes, delivers a natural shine, elasticity and resilience. Apply it around one millimeter away from the lash line and leave on for 7 to 10 minutes. Next, wash it off using a wet cotton pad.
STEP 9. TAKE OFF THE ROD CAREFULLY
You can make use of a wet Q-tip when taking off the silicone rod. Slide it under the rod gently and carefully. The lash lift glue is water-soluble so the rod will come off the eyelid and lashes easily. Use a disposable brush to comb through lashes as a finishing touch.
What Things to Remember After Lash Lift and Lamination?
Being cautious and careful is the key thing for 24 hours after the lash lift process. Do not wet or touch your lashes. Don't use makeup, and skip the lash area when applying skin care like face moisturizers and oils. After 24 hours, you can start nurturing your lashes. Using good-quality oils to moisturize lashes is the best choice because lashes after lash lift and lamination soak up all kinds of nutrients and vitamins very well.
Eyelash Lift and Lamination. How Long Does It Last and When to Repeat the Treatment?
Just like head hair, eyelashes have a natural life cycle, and eyelash hair falls out at a certain point. In other words, the effect after lash lift depends on the natural process. Considering the average lash life span, the results last for around 5 weeks yet it is not a rule. In some cases, lash lift and lamination lasts for even 7 weeks.
The optimal time after which the lash lift should be repeated is from 5 to 7 weeks. This is when the new lashes are the most likely to replace the old ones that had been laminated.
Contraindications to Lash Lift and Lamination:
- allergic eye disease
- skin peeling in the eye area
- conjunctivitis and other infections
- eye hypersensitivity
- cataract and glaucoma
- stye, keratitis
- chemotherapy
Lash Lift and Lamination - Opinions
You will find reviews of lash lift kits and hear opinions on the treatment from your friends or read them over the Internet. They are clear-cut: women who have done lash lifts are happy with the results and love their amazing lash curl and volume. They also appreciate long-lasting effects, and most of them repeat the treatment.
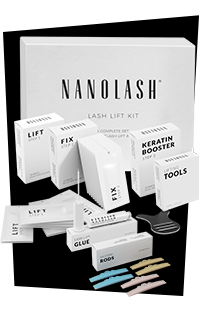
Eyelash Lift At Home. Is It Worth It?
Generally, eyelash lift at home involves the same steps and products as the treatment by a pro. You just need to buy a special at-home lash lift and lamination kit; you will find one at our Nanolash store. The kit includes clear, straightforward instructions and all essential accessories. You can use the above guide and enjoy salon-worthy, flawless lashes!